Installing and Running Apidog CLI
Prerequisites
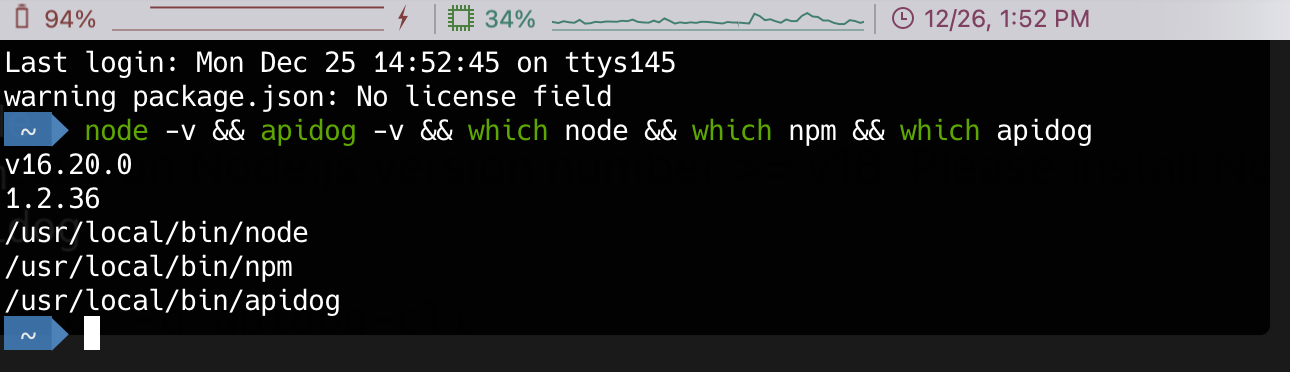
Installing Apidog CLI
Updating Apidog CLI
Running Apidog CLI
1.
2.
Run Online Data in Real Time
In a test scenario, switch to the CI/CD tab.
Configure the environment, test data, iterations, delay, etc.
In the CI/CD provider section, select "Command line".
Click "Add access token" button and then "Generate token".Learn more about access token.
Click the command to copy it.
Paste and run the command in the command line. And you'll get a test report in command line.
-e <environmentId>.-d <testDataId>.-n <n>.--delay-request <n>.Export current value and use it, you can find an export option below to export the current values of the environment/global variables from your project to a file. This affects--variables <path>. You will need to import this file onto the machine running the CLI and specify its path via--variables <path>. Learn more about differences between "Use initial value" and "Export current value and use it" here.--database-connection <path>. You will then need to import this exported file onto the machine running the CLI and specify its path in--database-connection <path>.Run Exported Data
In a test scenario, switch to the CI/CD tab.
Configure the environment, test data, iterations, delay, etc.
In the CI/CD provider, select "Command line" and then switch to "Run exported data".
Export the test scenario as a JSON file.
Copy the command displayed below.
Paste and run the command in the command line. You will get a command line test report.
CLI Test Report
Options
Using Apidog CLI with CI/CD
Modified at 2026-02-11 04:01:26