Apidog Docs
๐Ÿ‡บ๐Ÿ‡ธ English
  • ๐Ÿ‡บ๐Ÿ‡ธ English
  • ๐Ÿ‡ฏ๐Ÿ‡ต ๆ—ฅๆœฌ่ชž
HomeLearning CenterSupport CenterAPI References
Discord Community
Slack Community
X / Twitter
๐Ÿ‡บ๐Ÿ‡ธ English
  • ๐Ÿ‡บ๐Ÿ‡ธ English
  • ๐Ÿ‡ฏ๐Ÿ‡ต ๆ—ฅๆœฌ่ชž
  1. Import from...
  • Apidog Learning Center
  • Get started
    • Introduce Apidog
    • Basic concepts in Apidog
    • Navigating Apidog
    • Quick Start
      • Overview
      • Specify a new endpoint
      • Make a request to the endpoint
      • Add an assertion
      • Create a test scenario
      • Share your API documentation
      • Explore more
      • Send a request and save as an endpoint
    • Migration
      • Overview
      • Manual import
      • Scheduled import
      • Import options
      • Export data
      • Import from...
        • Import from Postman
        • Import OpenAPI (Swagger) spec
        • Import cURL
        • Import Markdowns
        • Import from Insomnia
        • Import from apiDoc
        • Import .har file
        • Import WSDL
  • Design APIs
    • Overview
    • Create a new API project
    • Endpoint basics
    • Components
    • Common fields
    • Global parameters
    • Endpoint change history
    • Batch endpoint management
    • Configure multiple request body examples
    • Schemas
      • Generate Schemas from JSON etc.
      • Build a schema
      • Overview
      • Create a new schema
    • Security schemes
      • Overview
      • Create a security scheme
      • Use the security scheme
      • Security scheme in online documentation
    • Advanced features
      • Custom endpoint fields
      • Import endpoints as test steps
      • Endpoint status
      • Appearance of parameter lists
      • Endpoint unique idenfication
  • Develop and Debug APIs
    • Overview
    • Generate requests
    • Send requests
    • Endpoint cases
    • Dynamic values
    • Validate responses
    • Design-first Mode & Request-first Mode
    • Generate code
    • Environments & variables
      • Overview
      • Using variables
      • Environments & services
    • Vault secrets
      • Overview
      • HashiCorp Vault
      • Azure Key Vault
      • AWS Secrets Manager
    • Pre/Post processors
      • Overview
      • Assertion
      • Extract variable
      • Wait
      • Database operations
        • Overview
        • MongoDB
        • Redis
        • Oracle Client
      • Using scripts
        • Overview
        • Postman scripts reference
        • Pre processor scripts
        • Post processor scripts
        • Public scripts
        • Calling other programming languages
        • Using JS libraries
        • Visualizing responses
        • Script examples
          • Assertion scripts
          • Using variables in scripts
          • Using scripts to modify request messages
          • Other examples
    • Dynamic values Modules
  • Mock API data
    • Overview
    • Smart mock
    • Custom mock
    • Mock priority sequence
    • Mock scripts
    • Cloud mock
    • Self-hosted runner mock
    • Mock language (Locales)
  • Automated tests
    • Overview
    • Test reports
    • Test scenarios
      • Create a test scenario
      • Pass data between requests
      • Flow control conditions
      • Import endpoints/endpoint cases from other projects
      • Sync data from endpoints/endpoint cases
      • Export test scenarios
    • Run test scenarios
      • Run a test scenario
      • Data-driven testing
      • Run test scenarios in batch
      • Scheduled tasks
      • Manage the runtime environment of APIs from other projects
    • Test APIs
      • Integration testing
      • Performance testing
      • End-to-end testing
      • Regression testing
    • Apidog CLI
      • Overview
      • Installing and running Apidog CLI
      • Apidog CLI Options
    • CI/CD
      • Overview
      • Integrate with Jenkins
      • Integration with Gitlab
  • Publish API Docs
    • Overview
    • API Technologies Supported
    • Quick share
    • View the API documentation
    • Publish docs sites
    • Folder tree settings
    • Custom layouts
    • Visibility settings
    • Endpoint SEO settings
    • Custom domain
    • Embedding values in document URLs
    • Documentation Search
    • Integrating Google Analytics with Doc Sites
    • CORS Proxy
    • API Versions
      • Overview
      • Create API versions
      • Publish API versions
      • Share endpoints with API versions
  • Send requests
    • Overview
    • gRPC
    • Use request proxy agents for debugging
    • SOAP/WebService
    • GraphQL
    • WebSocket
    • Socket.IO
    • SSE debugging
    • Create requests
      • Request History
      • Request basics
      • Parameters and body
      • Request headers
      • Request settings
      • HTTP/2
    • Authentication and authorization
      • Overview
      • CA and client certificates
      • Authorization types supported by Apidog
      • Digest Auth
      • OAuth 1.0
      • OAuth 2.0
      • Hawk Authentication
      • Kerberos
      • NTLM
      • Akamai EdgeGrid
    • Response and cookies
      • Overview
      • API response in Apidog
      • Create and send cookies
      • Debug requests
      • Save the request as an endpoint
  • Branches
    • Overview
    • Create a new sprint branch
    • Test APIs in a branch
    • Design API in a branch
    • Merge sprint branches
    • Manage sprint branches
  • Apidog MCP Server
    • Overview
    • Conntect API Specification within Apidog Project to AI via Apidog MCP Server
    • Conntect Online API Documentation Published by Apidog to AI via Apidog MCP Server
    • Conntect OpenAPI Files to AI via Apidog MCP Server
  • Best practices
    • How to handle API signatures
    • How to access OAuth 2.0 protected APIs
    • Apidog collaboration workflow
    • Managing authentication state in Apidog
  • Administration
    • Onboarding Checklist
      • Basic Concepts
      • Onboarding Guide
    • Managing Teams
      • Managing Teams
      • Managing Team Members
      • Member Roles & Permission Settings
      • Team Activities
      • Team Resources
        • General Runner
        • Team Variables
        • Request Proxy Agent
      • Real-time Collaborations
        • Team Collaboration
    • Managing Projects
      • Managing Projects
      • Managing Project Members
      • Notification Settings
      • Project Resources
        • Database Connection
    • Managing Organizations
      • Single Sign-On (SSO)
        • SSO Overview
        • Configure Microsoft Entra ID
        • Configure Okta
        • Configure SSO for an Organization
        • Managing user accounts
        • Mapping Groups to Teams
      • SCIM Provisioning
        • Intro to SCIM Provisioning
        • Microsoft Entra ID
        • Okta
      • Organization Resources
        • Self-hosted Runner
  • Billing
    • Overview
    • Credits
    • Unable to use credit cards?
    • Managing subscriptions
    • Upgrade plan
  • Add-ons
    • API Hub
    • Apidog Intellij IDEA plugin
    • Browser Extension
      • Chrome
      • Microsoft Edge
    • Request Proxy
      • Request proxy in Apidog web
      • Request proxy in shared docs
      • Request proxy in Apidog client
  • Account & preferences
    • Language settings
    • Data backup
    • Network proxy configuration
    • Hot keys
    • Updating Apidog
    • Generate OpenAPI access token
    • Deleting account
    • Account settings
  • References
    • API-Design First Approach
    • Apidog OpenAPI Specificaiton Extensions
    • JSONPath
    • XPath
    • Regular Expressions
    • JSON Schema
    • CSV File Format
    • Install Java Environment
    • Runner deployment environment
    • Apidog flavored Markdown
  • Apidog Europe
    • Apidog Europe
  • Support Center
  1. Import from...

Import OpenAPI (Swagger) spec

Apidog supports importingjson oryaml files inOpenAPI 3 andSwagger-2 data formats.
Ifsummary,operationId andpath parameters are all written within the same Swagger file, then during the import, the endpoint name will be set according to the priority ofsummary > operationId > path.

Manual Import#

Open theSettings and click onImport Data to select either file import or URL import.

Manual Import - File Import#

You can either drag and drop yourJSON orYAML files into the area shown below, or simply click the area to browse and select the desired file from your systemโ€™s file manager.
manual-import-openapi-specification-upload.png

Manual Import - URL Import#

When using URL import, please provide the direct URL to theJSON orYAML data file, not the Base URL of the Swagger UI.
swagger
manual-import-openapi-specification-url.png

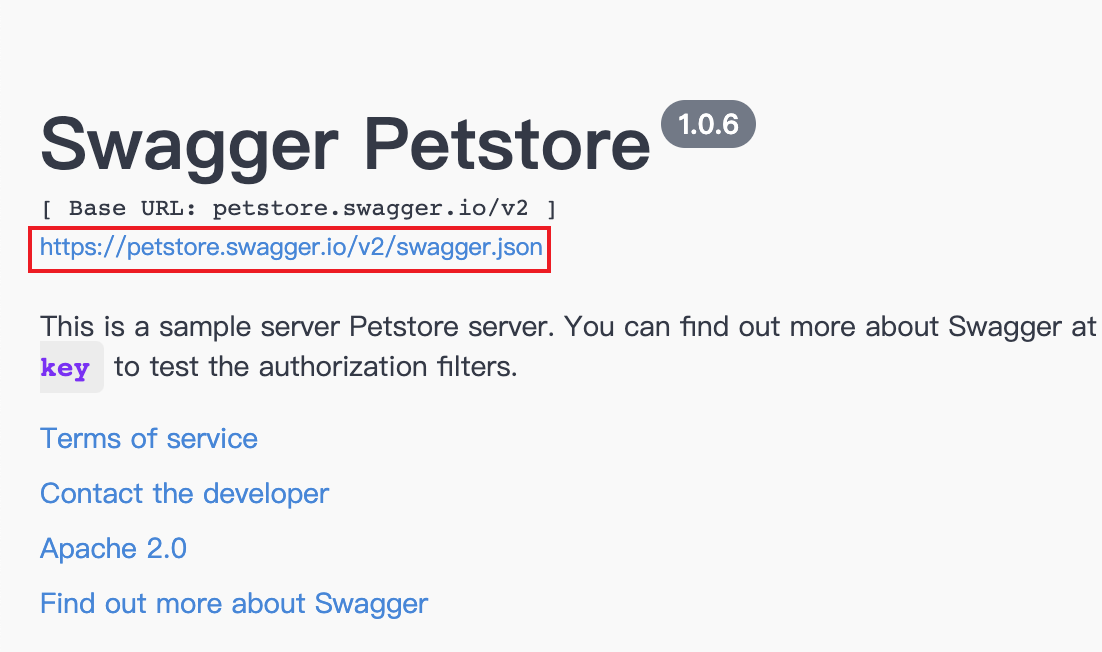
Import - Advanced Settings#

The imported OpenAPI/Swagger specifications include only endpoints, schemas, and environments.
importing-openapi-specification-01.png
When importing a file, you can set up the following options:
1.
Forder: Support importing files into specific folders.
importing-openapi-specification-02.png
2.
Overwrite: When two files have the same Method and Path, the newer file will overwrite the older file.
importing-openapi-specification-03.png
3.
Merge: When two files have the same Method and Path, any modified information from the old file, such as Mock rules, parameter descriptions, request examples, and response examples, will be retained.
4.
Overwrite Selected Fields: When two files have the same Method and Path, you can choose to overwrite specific fields. Other unselected fields will retain the existing data in Apidog.
Overwrite Selected Fields
5.
Ignore: When two files have the same Method and Path, the new file will not be imported.
6.
Keep Both: When two files have the same Method and Path, the new file will be imported, and the old file will not be deleted.
7.
Import Cases: When this option is enabled, the test cases under the selected endpoints will be automatically selected by default. You can also manually choose the corresponding test cases in the import preview.
Schemaneed to be configured separately, including the selection of overwrite modes and the import folders.
importing-openapi-specification-04.png
To align the structure of your existing endpoints in Apidog with the folder structure of an imported Swagger file, simply enable theAnd update endpoint folder option. This will automatically adjust the current folder structure to match the imported file.
importing-openapi-specification-05.png

Scheduled Import#

Open theSettings panel, go toImport Data, and click onScheduled. You can select multiple data sources here and synchronize them to a specific folders at regular intervals.
TIP
TheImport Dataoption is only visible and accessible to project admins.
automatic-import.png

Modified atย 2024-10-17 10:50:22
Previous
Import from Postman
Next
Import cURL
Built with