Configure SSO for an Organization
:::tip[]
SSO is available on Apidog Enterprise plan.
:::
Create an organization
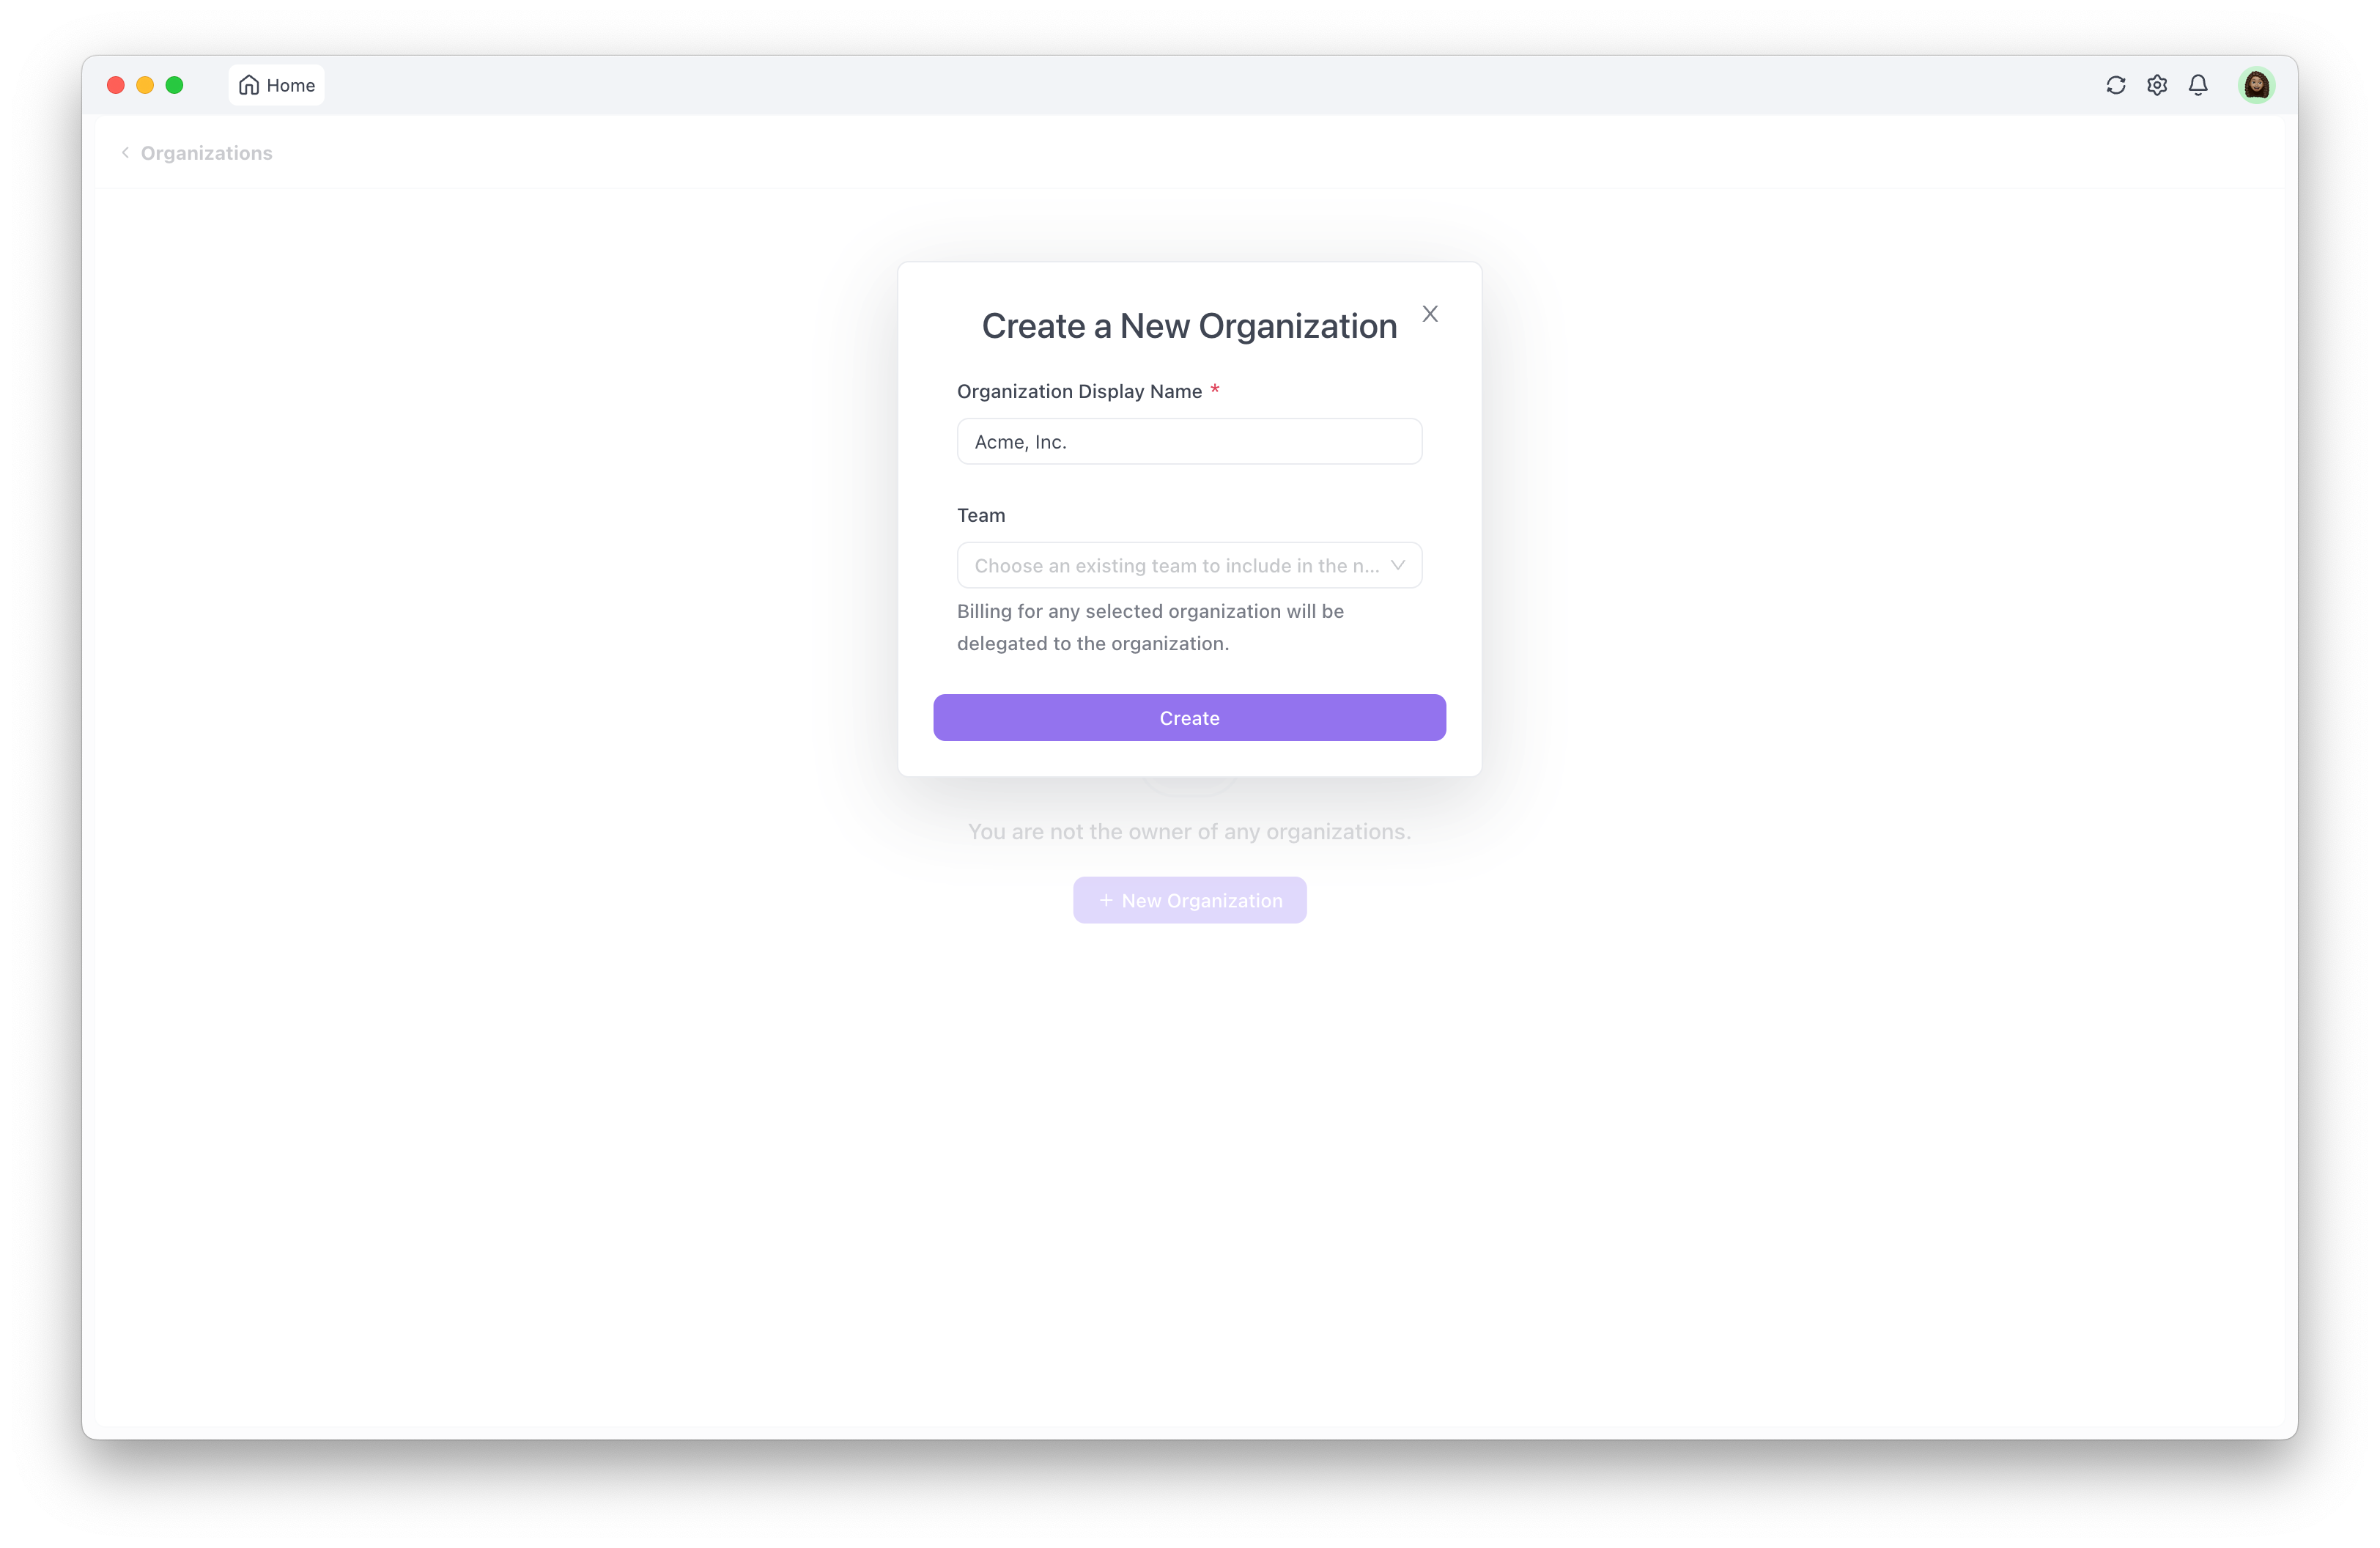
You can click "Organization" on the sidebar of the homepage, then click "New Organization", and enter the display name of the organization.
It is important to note that if you have previously created a team on Apidog and want to bring this team under the unified management of the organization, you need to select this existing team when creating the new organization. Billing for any selected team will be delegated to the organization.

After the organization is created, a default name composed of only numbers will be generated. This name is a unique identifier for this organization and is used for URLs related to SSO. Therefore, you can manually change it to a name that is more likely to be recognized by members of your organization.

Configure SAML SSO
After successfully creating an organization, you can click SAML SSO to access the SSO configuration page. Please do the following:
Turn on the "Require SAML Authentication" switch.
Copy the "Sign on URL" from your identity provider (IdP) and fill it in.
Copy the "Issuer" from your identity provider (IdP) and fill it in.
Get the certificate from your identity provider (IdP) and paste its contents here.
Click the save button. Congratulations, you have successfully enabled SSO for the organization.
After you turn on SAML authentication, members of your organization must authenticate with your SAML identity provider (IdP) to access any of the organization's resources.

It should be noted that the prerequisite for the above steps is that you have already completed the relevant configuration in the backend of your identity provider (IdP). Refer to the corresponding section of the documentation and follow the outlined procedure there:
- Configure Microsoft Entra ID(formerly Azure Active Directory)
Configure allowed email domains
You can set allowed email domains, and anyone with the email address in these domains can join your organization via SSO.

