How to access OAuth 2.0 protected APIs
OAuth 2.0 is an authorization framework that allows users to grant third-party applications, such as Google and GitHub, the permission to access or register services on their behalf. This eliminates the need for users to repetitively enter their information for web registrations, ensuring both the security and flexibility of personal data when utilizing third-party authentication logins.
This article will use Google account sign-in and authentication as an example to demonstrate how to debug OAuth 2.0 APIs by using Apidog.
Get Started
Suppose a website has been developed that permits users to authenticate using their Google accounts. In this configuration, the website functions as the client, and Google is the authorization server. Integration of Google OAuth 2.0 within the website necessitates adherence to the following procedural steps:
If you don't register Google API Console Project, you can refers to the official documentation to create a new OAuth Client.
1. The Web Page Requests Users Authorization From Google
After user clicks on the "Sign in with Google" button, the website sends a request to Google's OAuth 2.0 authorization server to obtain permission to access the user's Google account.

The URL of the request page is https://accounts.google.com/o/oauth2/v2/auth/. Based on the offical documenation, the request should include the following parameters:
| parameter | Description |
|---|---|
| client_id | Required, The client ID for your application. You can find this value in the API Console Credentials page. |
| redirect_uri | Required, Determines where the API server redirects the user after the user completes the authorization flow. The value must exactly match one of the authorized redirect URIs for the OAuth 2.0 client, which you configured in your client's API Console Credentials page. |
| response_type | Required, Determines whether the Google OAuth 2.0 endpoint returns an authorization code. Set the parameter value to code for web server applications. |
| scope | Required, A space-delimited list of scopes that identify the resources that your application could access on the user's behalf. These values inform the consent screen that Google displays to the user. |
| access_type | Recommended, Indicates whether your application can refresh access tokens when the user is not present at the browser. Valid parameter values are online, which is the default value, and offline. |
| state | Recommended, Specifies any string value that your application uses to maintain state between your authorization request and the authorization server's response. |
:::info
This format just shows the basic parameters required by Google OAuth 2.0. There are many other optional parameters that can be used to customize the user experience and security of your application. Click the official documentation for more details.
:::
2. User Authorizes the Application
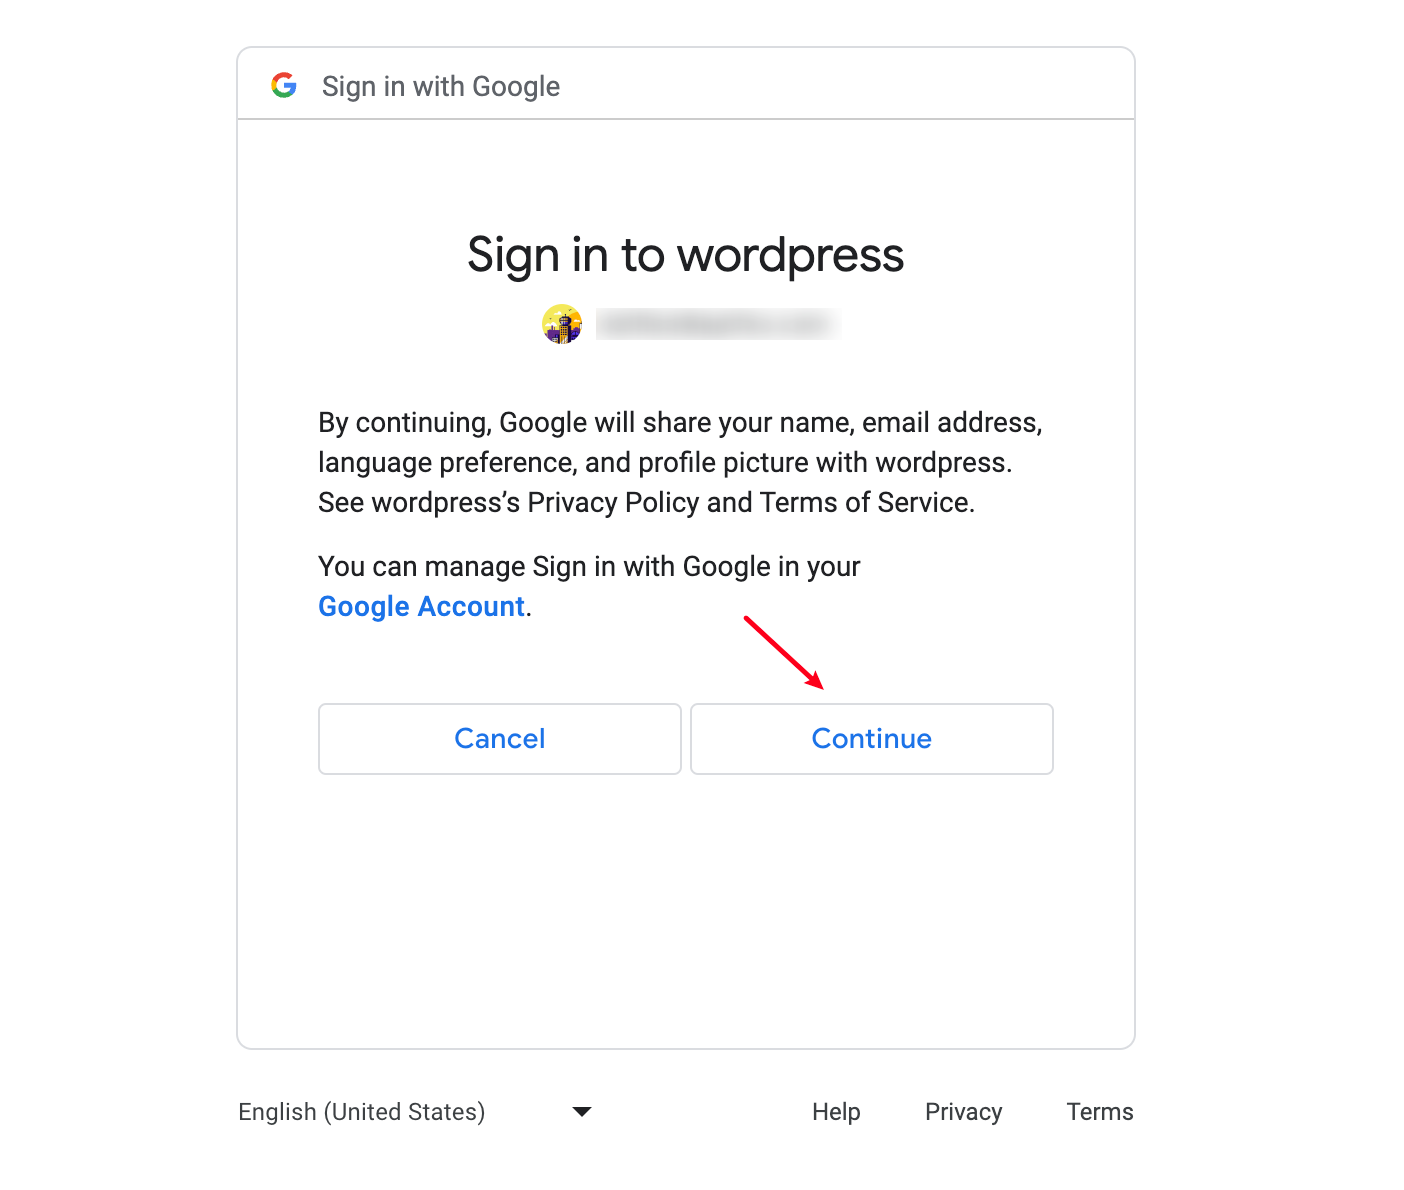
After users input their account information, Google presents a consent screen that requests permission to access the specified resources. If the user approves the request, Google sends an authorization token to the web server. If the user denies the request, Google sends an error message back to the web server.

3. The Web Page Requests an Access Token from Google
After the user grants permission, the authorization token will be sent by Google and is included in the response. If the user does not approve the request, the response will contain an error message. The authorization code or error message returned to the web server appears in the query string as follows:
# Error
http://example.com/#error=access_denied&state=state_parameter_passthrough_value

# Success
http://example.com/#state=state_parameter_passthrough_value&access_token=***&token_type=Bearer&expires_in=***&scope=email%20https://www.googleapis.com/auth/userinfo.email%20openid&authuser=0&prompt=consent
You can extract the access token from the URL and use it to access other Google APIs' services.
4. Sending the Access Token to Get Information from Google APIs
Using "Openidconnect API" as an example, you can access the user's Google account information by sending a request to the following URL with the access token:
https://openidconnect.googleapis.com/v1/userinfo?access_token=ACCESS_TOKEN
Create a new request on the project of Apidog, paste the target URL and enter the access token to parameters. Click "Send" button to get the response of the API.

5. Google Confirms the Access Token
After the access token is received, Google verifies its validity and determines the associated authorized client. If the token is valid, Google responds with the user's information. If the token is invalid or has expired, Google responds with an error message.

As you can see, the API response is a JSON object that includes the user's Google account picture and email. The website can use this data to automatically display the user's profile picture and email address, eliminating the need for manual entry.
Conclusion
In this article, we have explored the intricacies of requesting Google's OAuth 2.0 API by Apidog in 5 steps.
Using Apidog to debug OAuth 2.0 APIs can provide clearer visibility into the parameters required by upstream and downstream processes, optimizing the developement experience. Once the complete workflow is successfully executed, backend developers can then begin to write code to complete the entire business process without needing to verify while developing.
References
The source code of the web page used in this example.
- HTML
<!DOCTYPE html>
<html lang="en">

<head>
    <meta charset="UTF-8">
    <title>OAuth OAuth Login Demo Websites</title>
    <link rel="stylesheet" href="styles.css"> <!-- Link to CSS file -->
</head>

<body>
    <h1>Welcome to OAuth Login Demo Websites</h1>
    <button id="signinButton">Sign in with Google</button>

    <script src="main.js"></script> <!-- Link to JavaScript file -->

</body>
</html>
- JavaScipt
document.getElementById('signinButton').addEventListener('click', function() {
  var oauth2Endpoint = 'https://accounts.google.com/o/oauth2/v2/auth';

  var client_id = 'your_client_id';
  var redirect_uri = 'http://localhost:5500/';
  var scope = 'email';
  var state = 'state_parameter_passthrough_value';
  var response_type = 'token';

  var authUrl = `${oauth2Endpoint}?response_type=${encodeURIComponent(response_type)}&client_id=${encodeURIComponent(client_id)}&redirect_uri=${encodeURIComponent(redirect_uri)}&scope=${encodeURIComponent(scope)}&state=${encodeURIComponent(state)}`;

  window.location = authUrl; // Redirect to Google OAuth 2.0 authorization page

});
